A Guide to Plyometrics: The Explosive Workout That Levels Up Your Speed and Power
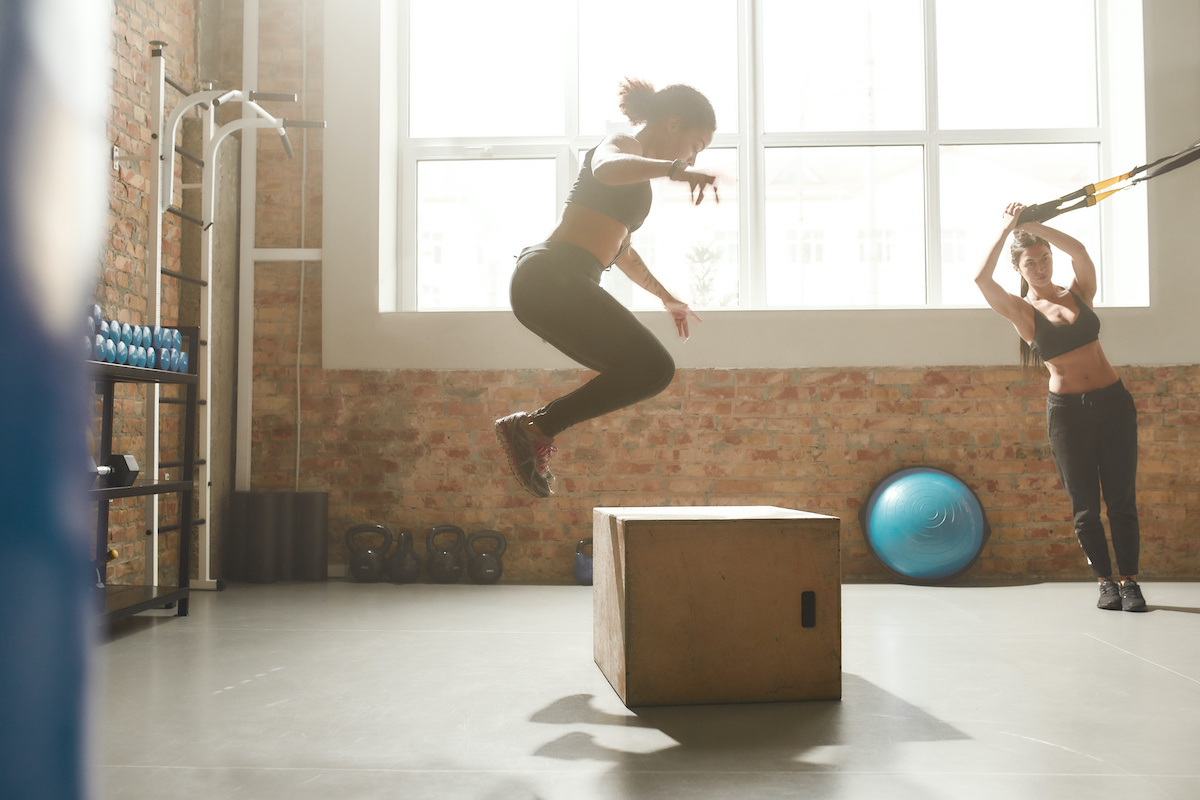
Even if you’ve never actually taken part in a plyometrics workout, you might have seen someone doing it on the gym floor, leaping up onto a cushioned box like a powerful gazelle, before stepping back down with the waltzing grace of a ballerina. “Woah, what are they doing?” you whisper in mystified adulation. “Plyometrics,” they say, turning around to face you like they’re in a soft drinks ad.
But what is this plyometrics business all about then, seen as the term on the face of it, tells us very little about what it might involve.
Well, unlike typical resistance training where the emphasis is on slow, long movements to increase muscle and strength, plyometrics is all speed. “A plyometric workout is where one’s muscles are exerting maximum force in quick amounts of time to train overall power in jumping and explosive movements,” explains personal trainer Shannon Gibbons.
As a workout method, it has some historic street cred. It’s thought to have originated in the late ’60s with the work of Dr. Yuri Verkhoshansky a former Soviet sports scientist and coach. Originally dubbed the ‘shock method’, Verkhoshansky would have his athletes drop down from a height and in turn experience a jolt upon landing which would create a forced eccentric contraction or a lengthening of the muscle in layman’s terms.
Then as the athlete jumped upward again a concentric contraction, or shortening, would be brought about. This would all be done in well under a second, the belief being the shorter the time period between eccentric and concentric muscle contractions, the greater the power capable of being generated by the muscle.
It was a US Olympic long-distance runner, Fred Wilt, who then coined the term plyometrics, with plio in Greek meaning ‘more’ and metric meaning ‘to measure’, after watching the Russians jumping while warming up, in contrast to the American team’s stretching. From there the only way has been up for the method, especially in recent years where plyometric soft boxes have become a gym floor standard.

The Benefits Of Plyometrics
“Plyometric exercises are effective in increasing speed and power in total body movements, moving efficiently, and improving cardiovascular fitness and stamina,” explains Gibbons. “They can work many different muscle groups depending on the exercise being performed, with the core musculature especially important in order to stabilise the body when performing plyo movements.”
Leading on from its background in athletics, runners are understandably the best served of all from practicing plyometrics. Take, a systematic review published by the Journal of Sports Sciences, which found that runners who consistently engaged in plyometrics saw a significant improvement in sprinting, reactive strength, and running economy, all of which led to better fitness and performance.
While on the face of it plyometrics are best suited to runners, there are tons of benefits for other sportsmen too. A study in the Journal of Strength & Conditioning Research, for example, found that a combination of squat and plyometric training provided a significant increase to hip and thigh power production, brilliant news for squat rack dwellers and powerlifters looking to progress to heavier heights.
And if you’re just interested in body composition, there’s something here for you too, with a 2014 study finding that a seven week program of plyometrics training reduced body fat content by about 15 percent and increased lean muscle mass by two percent. Plyometrics are especially great at working your lower body, so if you’re wanting to grow that booty, you’re in the right place.
Key Points To Remember
Be Conscious of Your Own Ability
“The key things to remember are your flexibility and mobility, especially in your hips and ankles,” says Gibbons. “Without proper strength, core balance, and coordination there can be potential for injury. Be aware of your body’s limits and take it at your own pace.” No reaching for the tallest box then.
Pregnant women, in particular, should avoid plyometrics as the growing baby bump will throw you off balance, putting you at an increased risk of injury.
No Equipment Necessary
Don’t want to shell out on a plyometrics box, or prefer working out from home? Not to worry according to Gibbons. “You do not need any equipment to perform plyometrics, although, you can definitely add things like weight, resistance bands, and boxes or steps.”
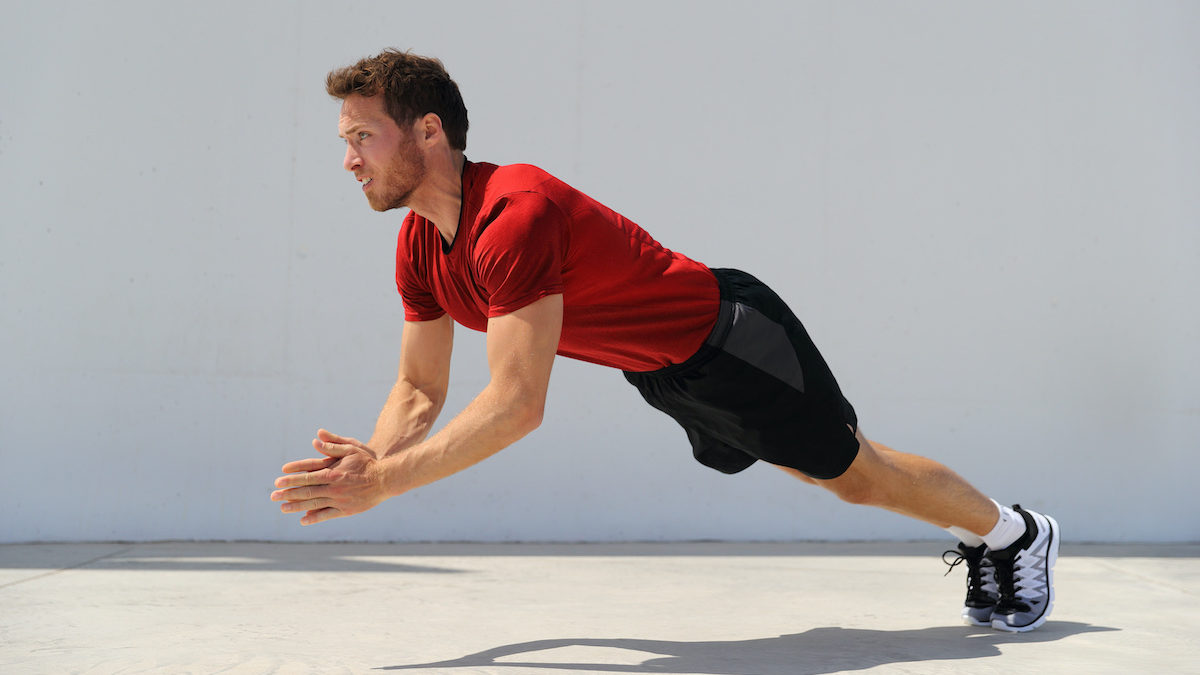
Plyometric exercises that don’t involve equipment include squat jumps, burpees, bunny hops, skater jumps, and clap push-ups. You could even just use a bench or sturdy chair in order to complete plyometric standards like the box jump.
Ease Into It
“If you’re first starting out I would ease plyometric training into your schedule with around one to three sessions a week,” says Gibbons. “It depends on your body and what is best for it since plyo exercises can be hard on the joints. They are great to add in to increase your cardio endurance and to increase your heart rate for that extra calorie burn.”
6 Plyometric Workout Exercises For Beginners
“I would recommend simple single plane of motion plyo exercises for beginners such as squat jumps, box jumps, lunge jumps, tuck jumps, broad jumps, and burpees,” says Gibbons. “Once you feel comfortable add in more lateral movements, weight and exercises that require moving in multiple planes of motion.”
Jump Squat
Technique: Stand with your feet shoulder-width apart, and begin with a regular squat, before engaging your core and jumping up explosively. As you land, lower your body back into the squat position to complete one rep, landing with control and as quietly as possible.
Top Tip: If you want to work those glutes even harder, then all you have to do is go for a deeper squat.
Box Jumps
Technique: Grab a box and place it one step in front of you, standing with your feet shoulder-width apart. Bend your knees slightly and drop down, bringing your arms out behind you. Using the momentum from your quarter squat, propel yourself upward as you jump onto the box, swinging your arms out in front of you as you do so. Land softly on both feet with a slight bend in the knees. Step down and repeat.
Top Tip: Taller folk, as in those 5ft 9 and above, will want to use a box 16 inches tall and over, while those under this height will be better off with a 14 inch box.
Lunge Jumps
Technique: Stand with feet shoulder-width apart and your core engaged. With your right leg take a big step forward, shifting your weight forward so your heel touches the floor first. Keep your arms by your side while doing this and then lower your body until the forward leg is parallel to the floor. When you get into this position, jump up explosively propelling your arms forward and quickly switching the position of your feet while mid-air. Gently land back on the floor in a basic lunge position with the opposite leg forward.
Top Tip: Think about jumping straight up and down on this one. You want to keep your chest tall and your torso upright to stop yourself from bending over or rotating your upper body while in the air.
Tuck Jumps
Technique: Stand with your feet hip-width apart. Drop down into a half squat position and explode off the ground, swinging your arms upward while bringing your knees as close to your chest as possible. Swing arms upward as you explode off the ground. Land softly on the balls of your feet with a bend in your knees.
Top Tip: Don’t do tuck jumps on hard or uneven surfaces, as doing this will cause undue pressure on the joints in your knees.
Broad Jumps
Technique: More commonly known as a long jump, to begin a broad jump get into a squat position making sure your knees remain in line with your toes. Jump up, using your arms to propel yourself forward, before landing back into a squat position.
Top Tip: Don’t jump further than is comfortable. Doing so puts you at risk of losing your footing, and causing an injury. Never sacrifice technique, and always aim to land in the universal athletic position.
Burpees
Technique: A burpee is a tale of two halves; you have the pushup and then the jump. To kick things off, start in a squat position with your feet about shoulder-width apart. Put your hands to the floor in front of you so they’re just inside your feet. Kick your feet out and back so you’re in a pushup position.
With your body straight, do a pushup. Jumping your feet back to their starting position. Stand and reach your arms over your head. Jump quickly into the air, landing back where you started and ready to repeat.
Top Tips: The main thing to remember with a burpee is not to get sloppy in your plank to pushup and then when coming back up in a squat focusing on getting your feet fully planted on the ground and under your hips with your chest and core up and engaged.


