A 7 Step Guide to Chia Pudding Glory Every Breakfast Time
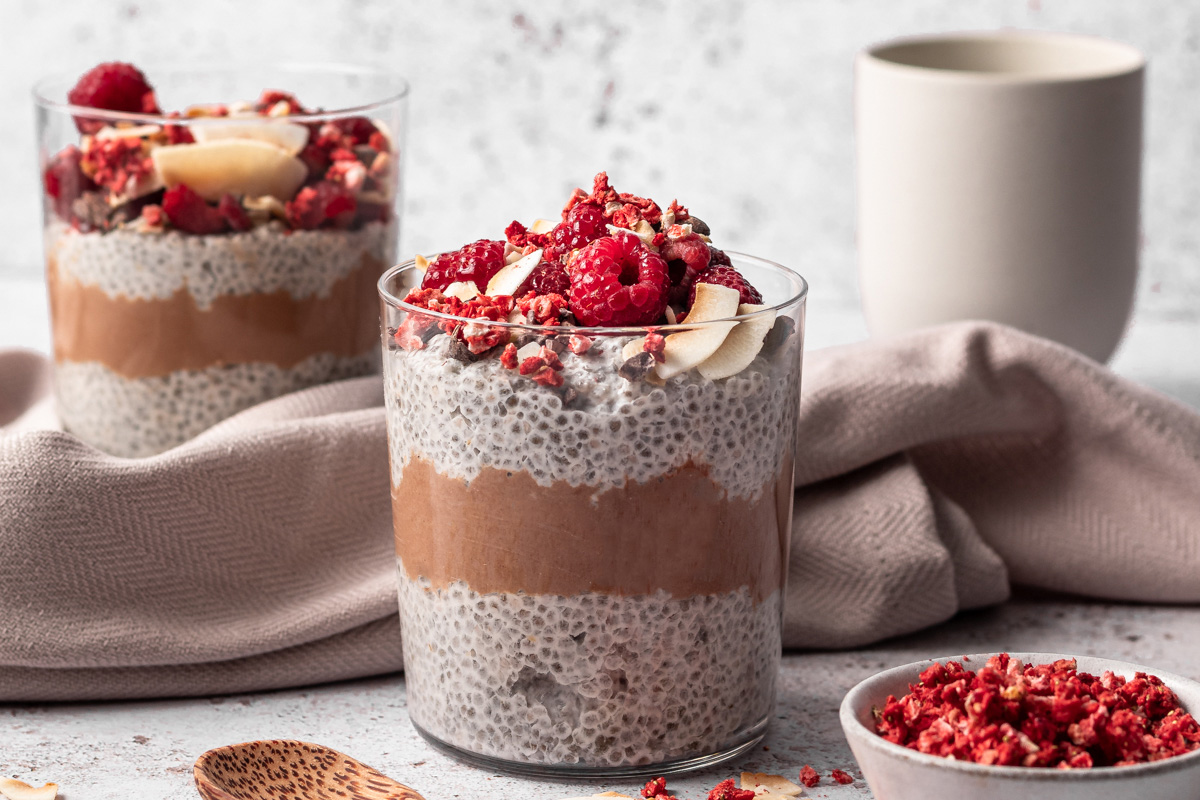
A fantastic source of vegan protein, fibre and omega-3 fatty acids, the chia seed has become the bedrock of healthy breakfast and snacks the world over in recent years, especially when it takes top billing within the delicious chia pudding. The perfect big-batch breakfast to meal prep for your busy week ahead, we’re unashamed to admit our longstanding fandom of the chia pudding here at Form HQ.
Another cheerleader is recipe developer and creator of the vegan food blog For The Utter Love Of Food, Laura Davis, who has helped us out with some tips to remember when making chia pudding from scratch, including the recipe for her best-in-class coconut milk version.
How To Make Chia Pudding: 7 Tips To Remember
Adjust The Liquid
Like anything related to food, texture is all so subjective. What one person might think is a slimy chia pudding, the other may think is the perfect consistency. Personally, I find the key to not making a chia pudding that I believe is slimy is trialling the quantity of liquid I am adding for the chia seeds to soak up. A little more liquid will give you a runnier consistency whereas less liquid will give you a pudding that is a little firmer.
Contrasting Textures
All in all though, too much liquid is what tends to produce that slimy consistency, coupled with a lack of contrasting textures. Adding elements of crunch to the top of your pudding then, like granola, cacao nibs, nuts, or seeds, all will help to avoid the sliminess.
Fridge It
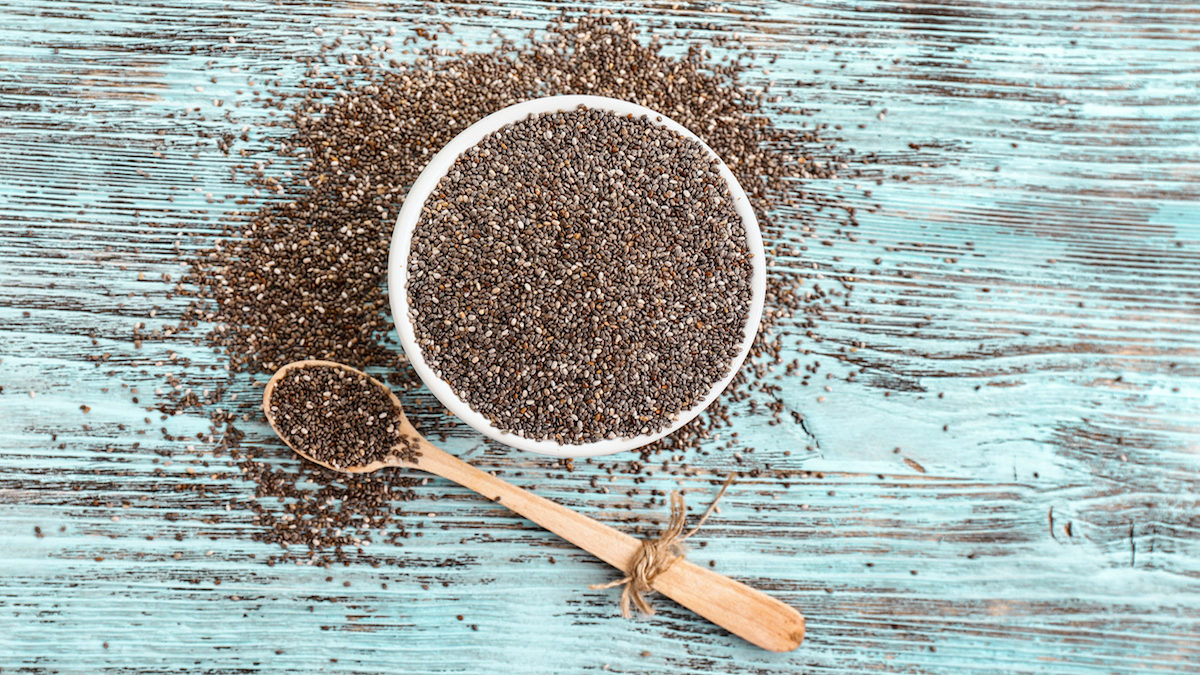
If your chia pudding is looking watery at first glance don’t just be tempted to add more chia seeds, as with time it will all balance out. Instead, refrigerate it for a minimum of two hours, but ideally overnight, as this allows the pudding time to thicken and gives it that set consistency. I would say to always store you chia pudding in the fridge as you want to eat it chilled.
The Blender Fallback
If you try the tips above and you are still finding it a little slimy, try blending up the pudding once it is set to get a smoother almost mousse-like consistency.
Add Your Protein Powder In With The Yoghurt
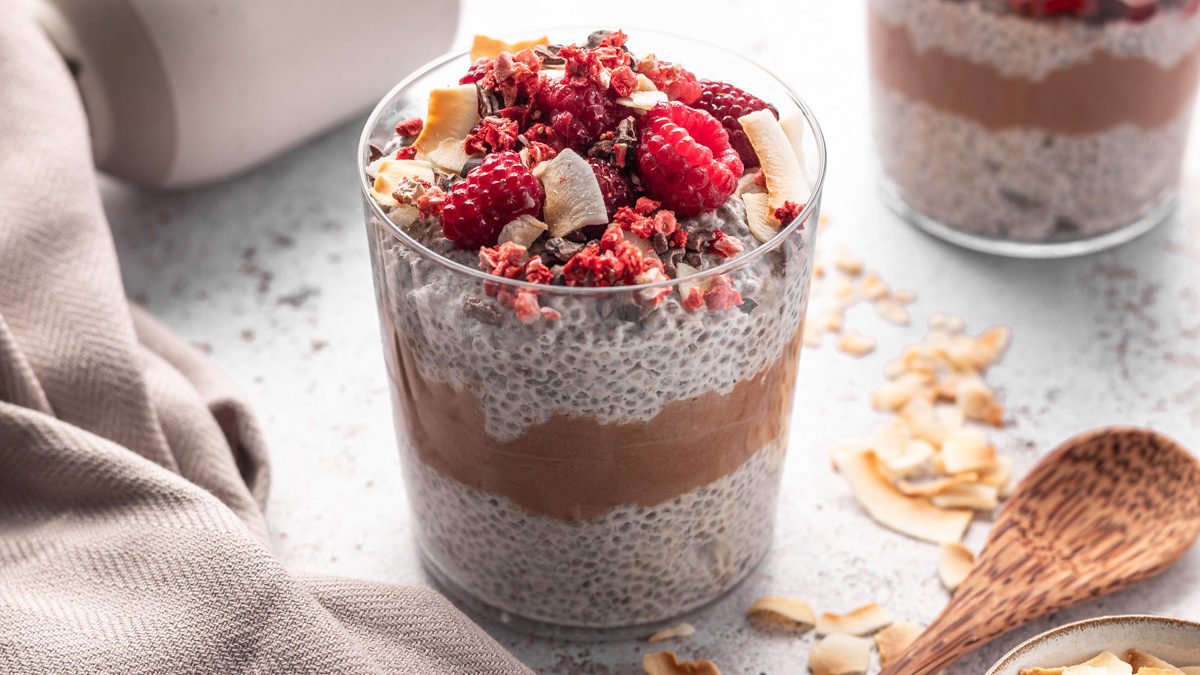
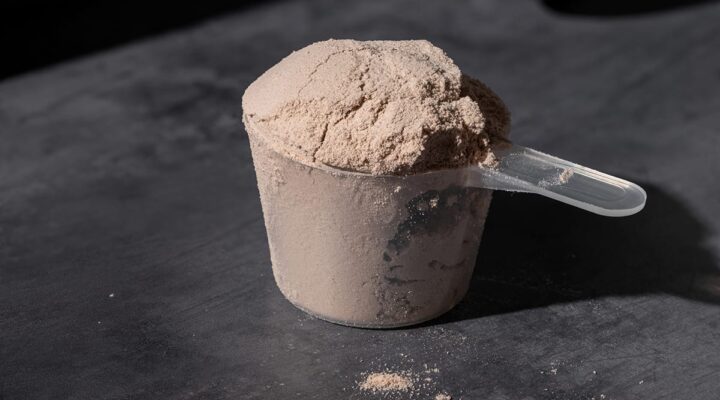
I will also sometimes use protein powders in my chia pudding when I need to boost the protein percentage of my breakfast a little more. Rather than adding protein to the actual chia pudding, I tend to favour mixing it with plant-based yoghurt and adding a layer of this to my pudding.
Coconut Milk Is Number One
Adding coconut milk — the type from a can — blended with a regular plant milk from a carton is my favourite milk base as it provides a lovely creamy tropical flavour to the pudding. However, it is higher in fat than other dairy-free milks. If you are looking for a lower fat version then, try a regular dairy-free milk from a carton like almond, cashew, or soya, and just add another strongly flavoured ingredient to give the pudding its flavour.
Crunchy Nut Butter FTW
If I’m not using coconut milk to thicken the pudding, a crunchy nut butter is a winner as it not only adds a crunchy texture that contrasts with the smooth chia seeds, but it is rich and creamy while also adding a delicious flavour.
Laura’s Coconut Milk & Chia Pudding Recipe
Ingredients
- 85g chia seeds
- 300ml coconut milk (from a can)
- 200ml dairy-free milk
- 2tbsp maple syrup
For the chocolate layer:
- 120g plain dairy-free yoghurt
- 1 tbsp Form Salted Caramel Superblend
- 1 tsp maple syrup
Optional toppings:
- Toasted coconut
- Raspberries
- Cacao nibs
Method
- In a medium sized bowl, mix together the chia seed pudding ingredients and leave to stand for 5 minutes.
- In a separate bowl mix together the chocolate layer ingredients.
- Distribute the mixtures between three jars, layering chia seed pudding, chocolate layer and then topping with chia seed pudding. Once done, place all three jars in the fridge for a minimum of two hours, but ideally overnight.
- When ready to eat top with any toppings. Raspberries, cacao nibs and toasted coconut work brilliantly.
