The Ultimate Guide to Using a Barbell at the Gym
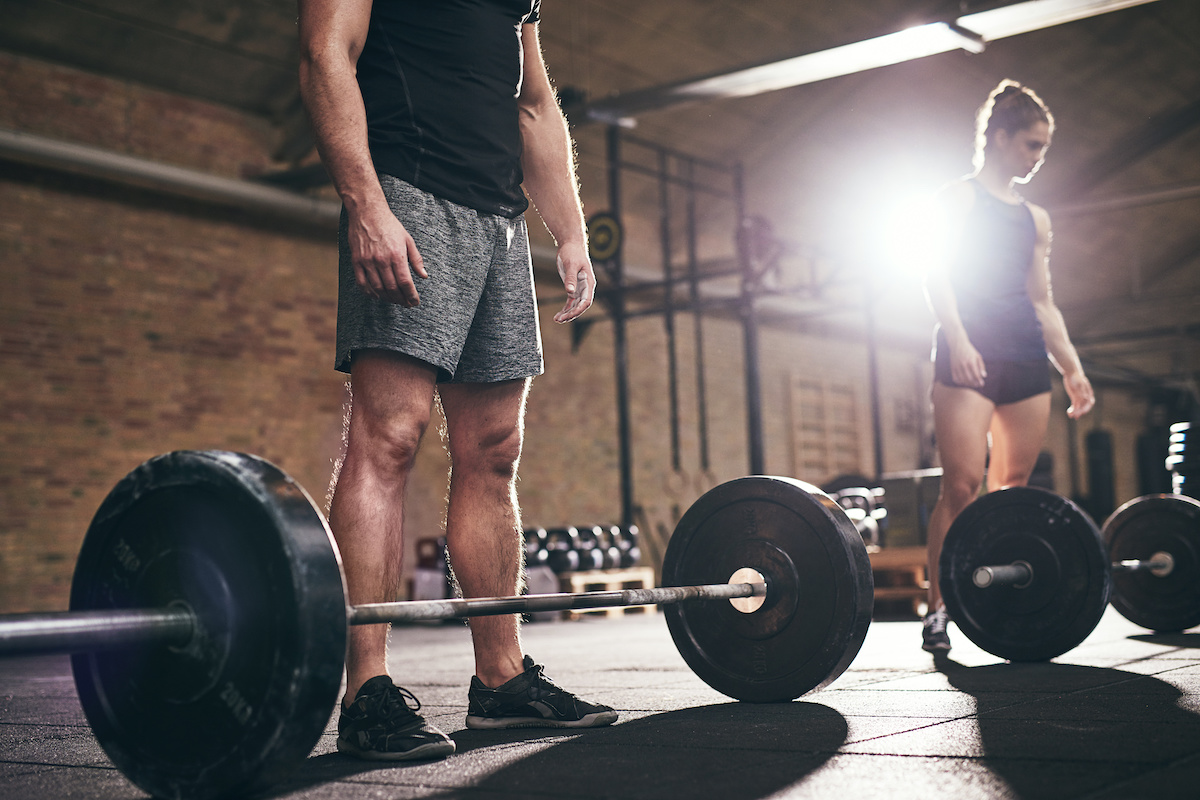
When it comes to the gym you might start on the machines, before moving up to using dumbbells and the bench. But as you’ve likely been told by many a PT, if you want to progress to the really big weights (and the big, big, big muscles that follow) you’re going to have to get down with the barbell gang.
Lifting with barbells is harder than it looks though, and it sure looks hard. First, there are the different bars to contend with — power, Olympic, hex, Swiss — and all of the grips. It’s also important to nail your technique, with injury just one slip or misaligned spine away.
So, we’ve roped in the sterling expertise of trainer and wellness advisor, Roland Khounlivong, to cover all you need to know before you lift your first barbell, and some refreshers for those a bit further along their lifting journey.
Breaking Down The Barbells To Know
Power Bar
A powerlifters favourite, the power bar is mostly used for the main lifts, so think squats, deadlifts and the bench press. They tend to be stiffer and have less spin on the collars — the metal contraptions put on the end of the bar to keep the weight disk from becoming too loose and falling off.
Olympic Bar
An Olympic bar weighs around 20 kg, and tends to be a bit more supple than power bars. They also tend to come with spinning collars, and without knurling — the raised metal bumps you find in the centre of bars for comfort and grip. They are quite common in commercial gyms, and the best way to train the clean and jerk, or snatch.
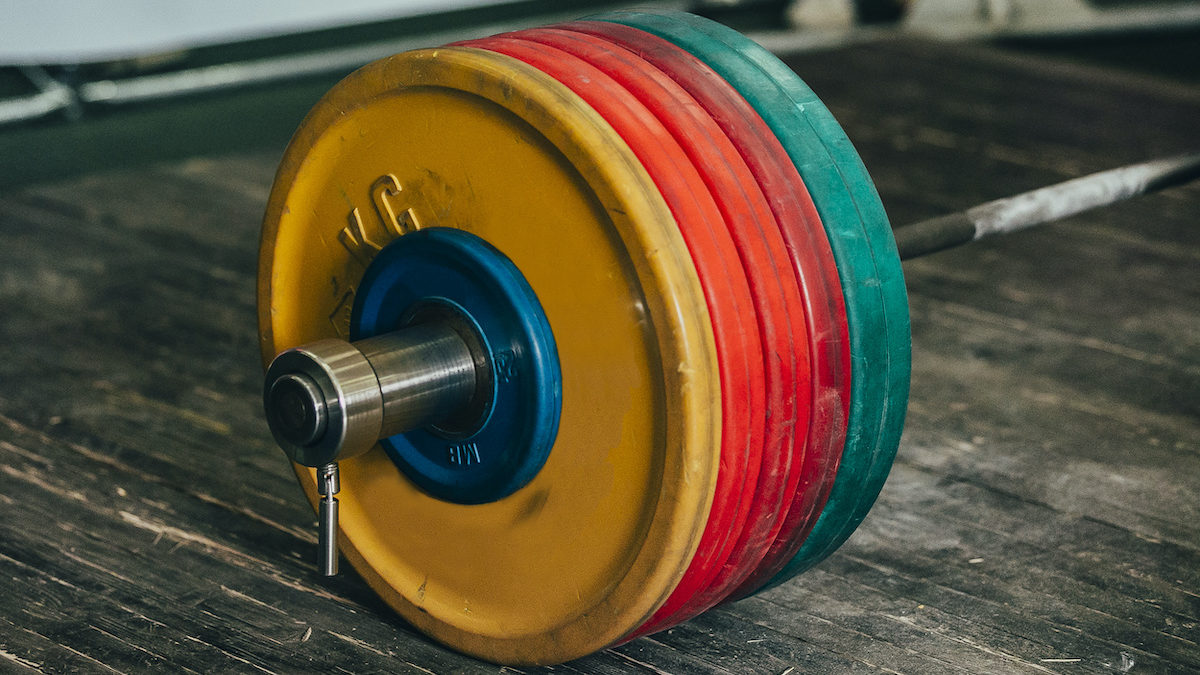
Olympic barbell with spinning collar
Pre Loaded Bar And Curl Bar
These bars are generally smaller and might come pre-loaded — the weights are already attached so no need for messing around with collars. The original purpose of these smaller barbells is to be able to train without having to lift the 20kg as a starting point. However, as a result, they are quite specific to the movement they’re made for, like an EZ-bar designed for arm work and offering more ergonomic handles when gripping. You also can’t significantly load these bars like you can with the Olympic and power bar.
Safety Squat Bar
This bar usually weighs between 60 to 75 pounds, and is more balanced than other bars since the plates are placed closer to the ground. Moreover, padding connects your back and shoulders to the bar for a more comfy lift, as well as a more natural hand placement. This makes it a lot easier and safer to use for those with shoulder mobility issues or injuries.
Swiss Bar Or Football Bar
The Swiss bar looks like railing, and is a great, versatile tool to practice push or pull movements with a neutral grip (or other grips depending on the selection of the handles).
Hex Bar And Other ‘Functional’ Bars
The hex bar is shaped like a pentagon with handles and two bars on either side to add weights. Also known as the trap bar, it allows the athlete to perform their lift in a more functional manner and as such can be helpful for those struggling with their deadlifting form, especially those prone to lifting their butt up too early.
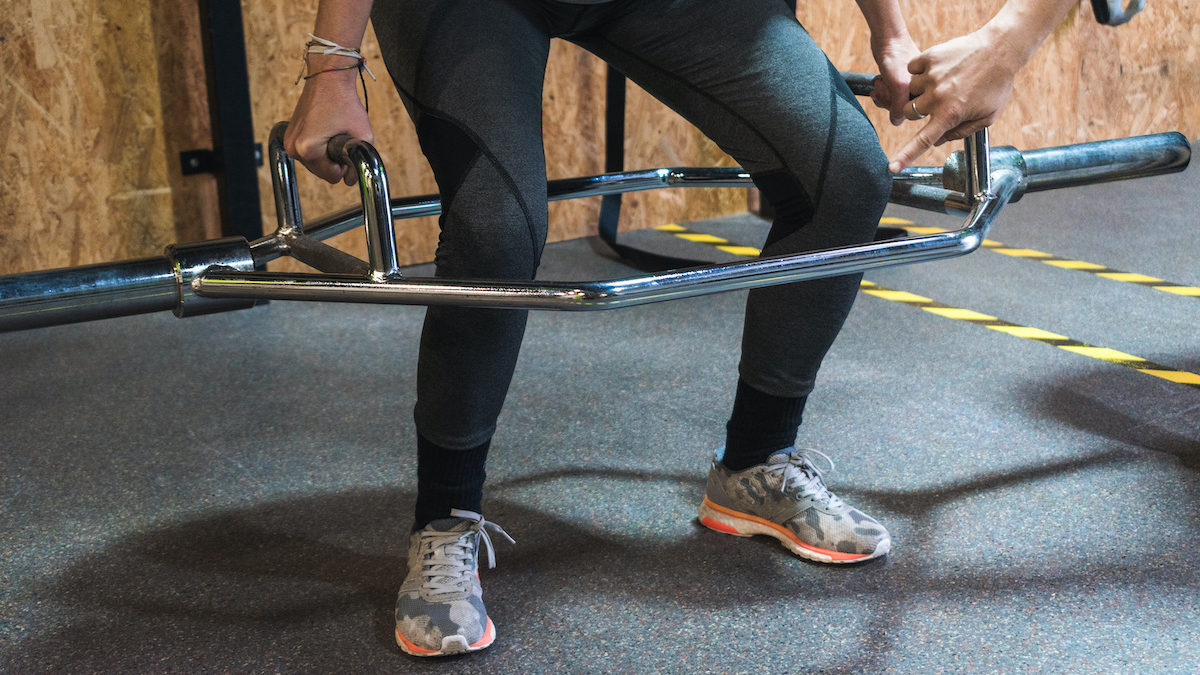
Hex bar
How Do You Use A Barbell Rack?
- Adjust the J hook and safety bar to the right level, depending on what movement you’re undertaking,
- Centre the bar and load it carefully with weighted plates. Don’t forget to use the collars to keep the weights in place through the movement.
- Position the bar according to the lift and in relation to your body.
- Lift. Ideally have a spotter on hand to help.
- Return bar to rack safely.
- When finishing the lift make sure to tidy the station and return the plates.
What Are The Different Ways To Grip A Barbell?
Depending on the tool (Swiss bar, barbell) and the goal (activating specific muscles) there are four main types of grip:
Neutral
Keeping your shoulders in a neutral/”natural” position, the neutral grip will see your palms facing one another as your take hold of the bar.
Supination (Underhand)
More commonly used for barbell curls, for instance, this stance forces the athlete to externally rotate the shoulders, activating the rotator cuff muscles for better posture and healthier shoulders.
Pronation (Overhand)
Facing your palms away from your body with your hand over the bar and your knuckles on top is a technique known as a pronated grip. This grip is frequently utilised for the bench press, bent over row or pull up.
Mixed Grip
A mixed grip deadlift is when you place one hand underhand and one hand overhand on the bar. It’s a very strong grip that allows you to stack relatively more weight on the bar, and as such is commonly used by powerlifters in competition.
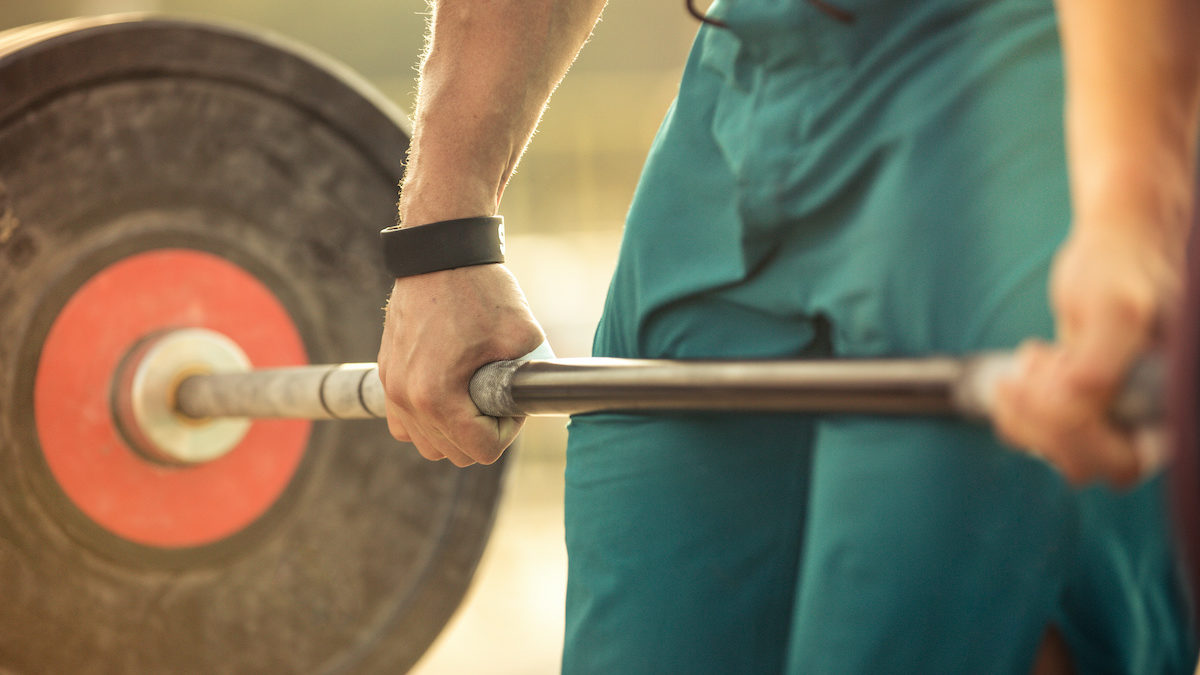
Mixed grip
Specialist Grip: False Grip
Like the pronation grip without thumb, the false grip can be risky for some exercises like the bench press (risk of slippery bar), but it can be very useful to complete specific movement patterns like the overhead press. It’s very popular among gymnasts when undertaking rings.
Specialist Grip: Hook Grip
A favourite of Olympic lifters, this cousin of the overhand grip sees the thumb trapped under the bar, with your remaining fingers wrapped over the top. While it can be painful to set up, the harder you can squeeze your thumb the tighter the bar is in your hands, which will help athletes without such a stronger grip.
Barbell Workout Progressions
Before lifting anything, I’d first suggest starting with a general check up to see where you are in terms of mobility and stability. Let’s make sure all our main joints are mobile — ankle, hips, t-spine, shoulder — and the ones in between are stable — knee, scapula.
My second recommendation is to progress through the main movements, excluding loading carry and single leg or arm work, as per the examples below.
Squats (Lower Body)
1) Bodyweight squat
Stand with feet hip-distance apart, toes pointed out slightly, and arms at sides. Keep your torso upright, engage the core and glutes, shift hips back and down, and bend at knees to lower seat until thighs are at least parallel with floor. Drive down through heels to return to standing.
2) Landmine goblet squat
Set up with the end of the landmine (a barbell which has been slotted into a post so that it can pivot) in both of your hands at chest height. Descend by both pushing the hips back and bending the knees. Once your thighs reach parallel with the floor, begin to reverse the movement. Keep your core tight and drive your feet through the floor and back to the starting position.
3) Safety bar squat
Just like a normal squat but now you’re going to use a safety bar. On the safety bar, you’ll see a padded section with two handles on either side. Place the pad on your back as close as possible to the low bar position, just below the spine of the scapula. Hold the handles and try to maintain the angle on your forearm for the duration of each rep.
4) Front squat
Safely load a barbell onto your front side, resting it on your shoulders. Hook your fingers in an underhand grip just outside your shoulders and push your elbows up. Begin to squat, ensuring that your knees fall out and your chest stays up, as you resist the pull to fall forward.
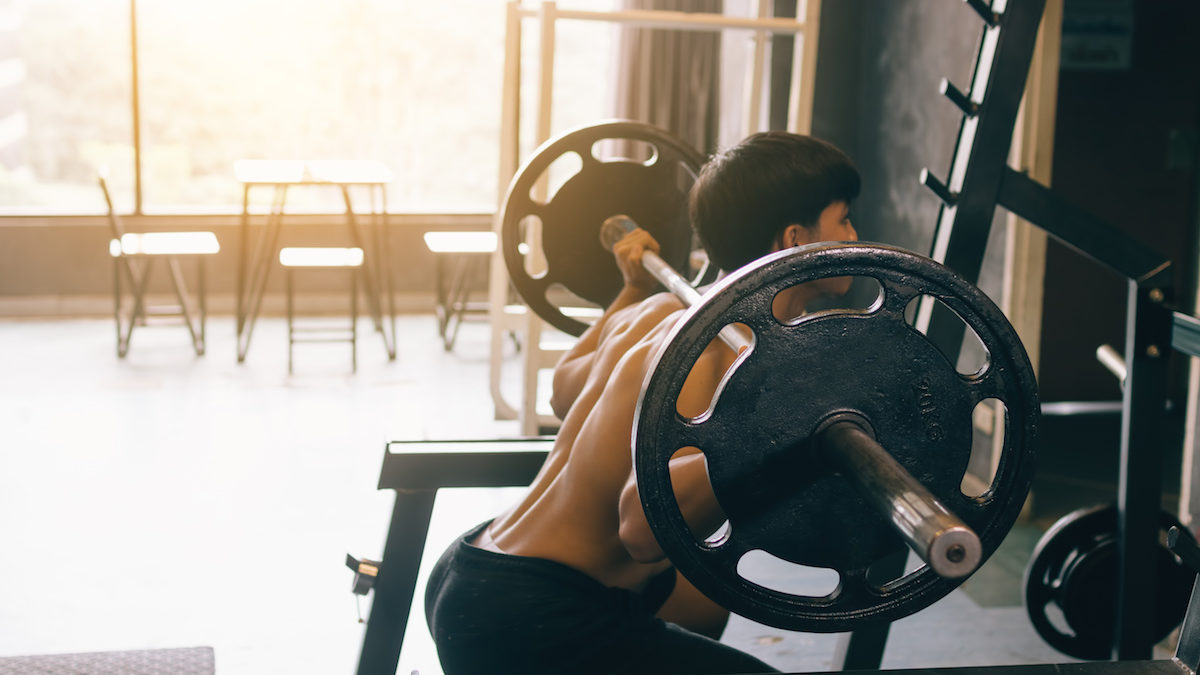
5) Back squat
Safely load a barbell behind your head, resting it on your traps. Stand shoulder-width apart, and begin to sit back in your hips, bending your knees and dropping your glutes toward the floor. Ensure that you push your knees out and that your head stays straight. When your thighs reach parallel to the ground, pause, then stand back up, pushing through your entire foot back to start.
Hip Hinge (Lower Body)
1) Glute bridge
Lay on the floor with your abs and glutes tightened. Raise your hips up to create a straight line from your knees to shoulders. Try to pull your belly button back toward your spine while squeezing your core. Slowly raise one leg while keeping your hips raised and level. Return to the starting position with your knees bent.
2) Barbell hip thrust
For the hip thrust, first sit on the ground with a bench behind you, bending your knees so your feet are firmly on the ground with a barbell resting below your hips. Lean back so your shoulders are on the bench and put the bar above your hips.
Drive your hips up lifting the bar. In the top position, your knees should be bent at 90 degrees and your shoulders near the top of the bench, with your body forming a straight line between them. At the top of the lift, pause and squeeze your glutes, before lowering your hips slowly.
3) Landmine deadlift
Load the landmine unit with weight. Stand with feet shoulder-width apart and bend at the hips, bending your knees as needed until you can grasp the sleeve, fingers interlaced. Your lower back should be flat. Take a deep breath, twist your feet outward, grounding yourself into the floor, and extend your hips to lift the bar up in front of you.
4) Hex bar deadlift
Load the hex bar, and stand in the centre with your feet hip-width apart. Bend at your hips and knees as you grab the handles. Raise your hips up slightly, keeping your back flat, to create tension in the back of your legs. Keeping your back flat and shoulders relaxed, drive your heels through the ground as you stand straight up. Squeeze your glutes at the top of the lift to ensure you get a full hip extension. Continue to grasp the handles as you lower the weight to the ground with control.
5) Sumo deadlift
Stand with your feet wider than shoulder-width apart, and your toes pointing out at a 45 degree angle, rather than straight ahead. Bend at the hips to lower and grab the bar with a mixed grip (one underhand and one overhand). Drive through your heels and extend your knees and hips to lift the bar to mid-thigh height. Pull your shoulders back at the top, before carefully lowering the bar back to the ground.
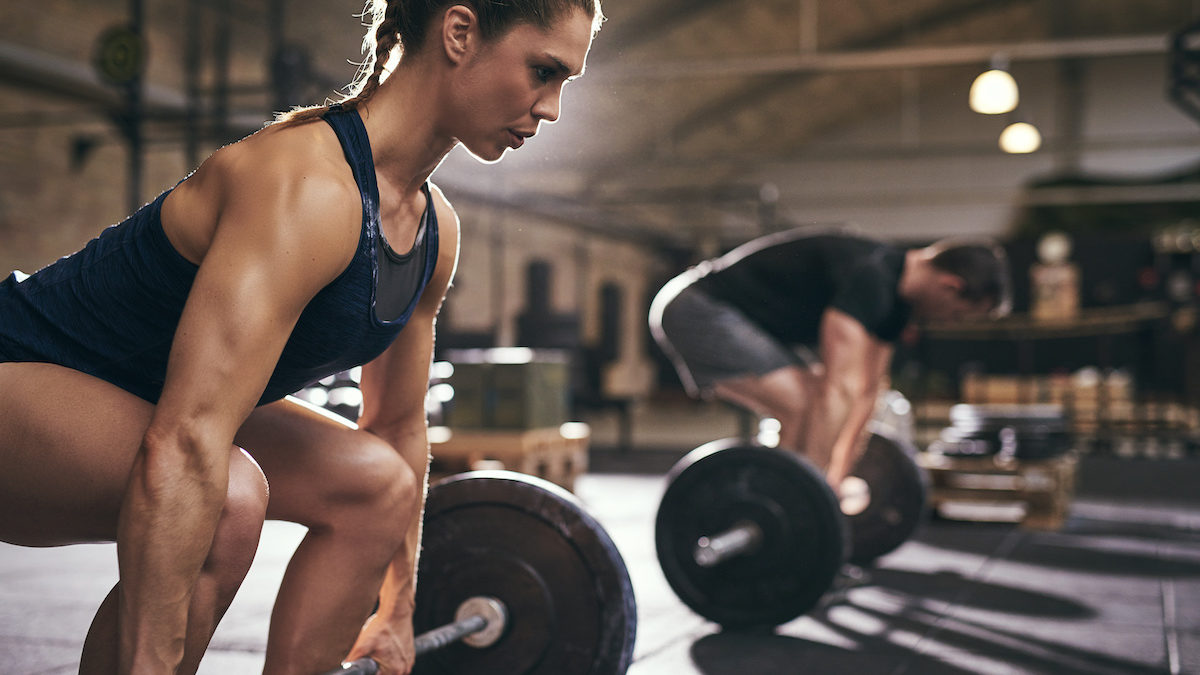
deadlift
Horizontal Push (Upper Body)
1) Hands elevated push up (on a box or bench)
Stand facing an elevated platform like a box or a bench. Place your hands on the platform, with your hands about shoulder width apart, your feet back, and your arms and body straight. This will be your starting position. Keeping your body straight, lower your chest to the bar by bending the arms. Return to the starting position by extending the elbows, pressing yourself back up.
2) Push up
As with above, but this time place your hands on the floor.
3) Floor press with a Swiss bar
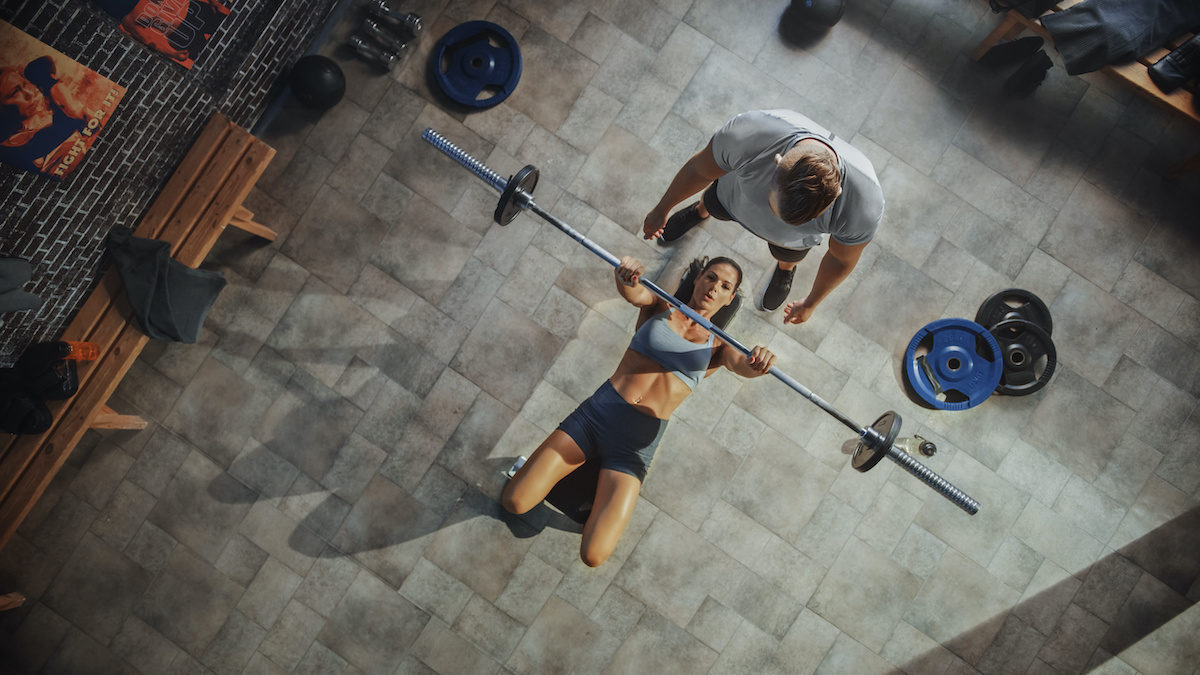
Lie with your back on the floor under your bar — you can use a rack or not, if the latter is the case then you may need some help — and grasp it with a neutral grip and your hands shoulder-width apart. Once you’re holding the bar above your chest with your arms outstretched, slowly lower it until your upper arms are touching the ground, then press it back up explosively.
4) Floor press with a barbell
Same as above but use an overhand grip.
5) Bench press with a Swiss bar (decline/flat/incline)
Doing a press on the bench will allow your to lift more weight, but it doe place more stress on the shoulders (which is why it’s best to build up to it).
6) Bench press with a barbell (decline/flat/incline)
Vertical Push (Upper Body)
1) Seated overhead press with Swiss bar
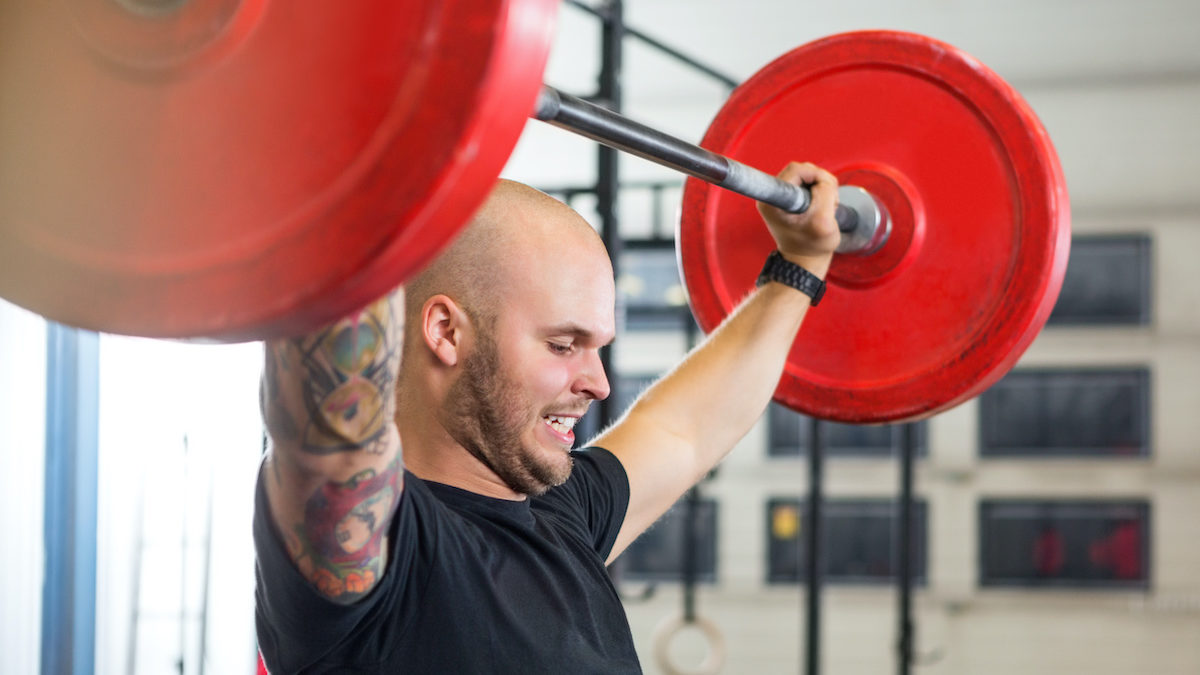
While seated on an upright bench, place the Swiss bar in the rack slightly above shoulder level. Keep your torso upright and core tight, unrack the barbell and slowly lower it down to chin level with elbows just slightly tucked in. Inhale, before pressing the barbell back up but don’t lock out your elbows.
2) Seated overhead press with barbell
3) Standing staggered stance overhead press with Swiss bar
Stand with your feet pointed straight ahead and placed in a staggered stance with your back leg straight and your front leg bent. Take hold of the bar at shoulder level with your arms positioned slightly in front of your ears. Press both dumbbells over your head, fully extending both arms. Hold the top position and then return the bar back to the starting position.
4) Standing staggered stance overhead press with barbell
5) Standing neutral stance overhead press with Swiss bar then barbell
As above, but instead of a staggered stance, stand with your body upright and your legs together.
Horizontal Pull (Upper Body)
1) Chest supported row with Swiss bar
Set an incline bench at 45 degrees. Approach the bench with your chest toward the angled pad, then lean onto it and grab the barbell. Plant your feet firmly on the floor, and let your arms hang straight down, palms facing each other. This is the starting position. Squeeze your shoulder blades together and drive your elbows toward the ceiling, bringing the barbell to your ribcage. Slowly reverse the move, and repeat for reps.
2) Chest supported row with barbell
3) Bent Over row with Swiss bar first then barbell
Load your barbell, and stand with your feet shoulder-width apart. Bend your knees and lean forward from the waist. Your knees should be bent and your back straight. Grab the bar with your hands just wider than shoulder-width apart and let the barbell hang with your arms straight. Brace your core and squeeze your shoulders together to row the weight up, then slowly lower it back down again.


