The TRX Row Is the Back Workout Swap You Need in Your Rotation

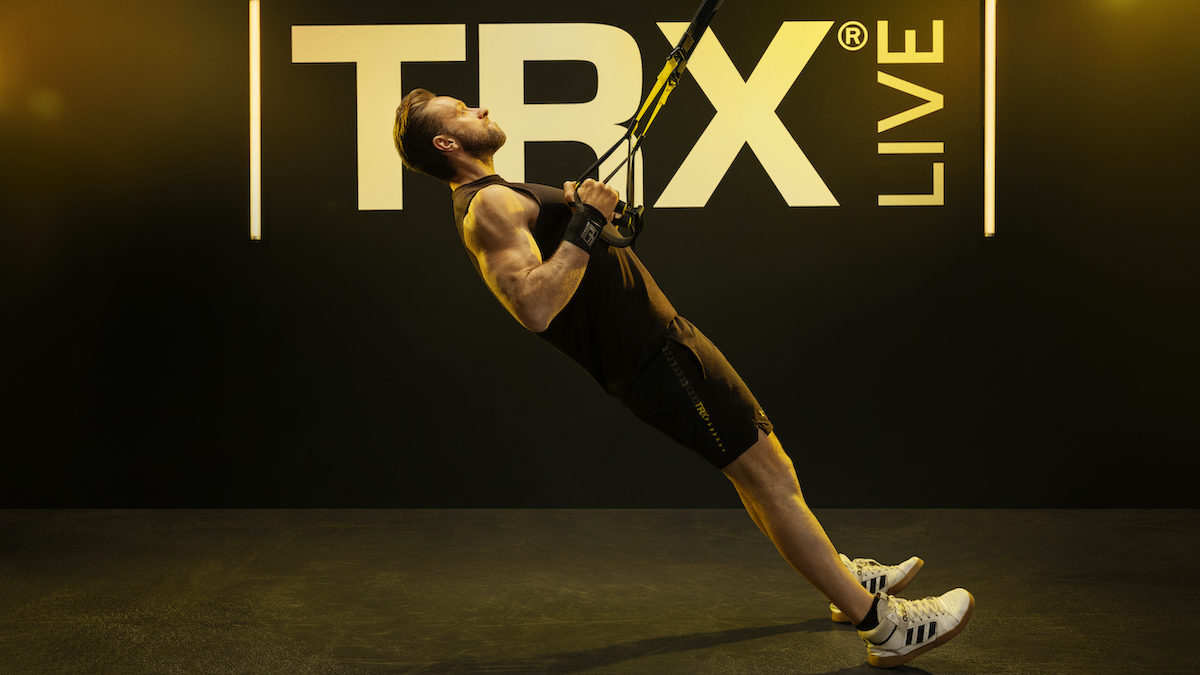
Most TRX trainers will tell you if there’s one move to hone on the ever-functional piece of gym kit it’s the TRX row. After all, it’s probably one of the best workouts you can give your back. “The TRX Row, along with the chest press, is my favourite move on the TRX,” says Niko Algieri, official trainer for Modernhaus Soho NYC and a world-renowned TRX guru. “It’s a perfect functional pull movement and back muscle developer.”
One of its key strengths over other movements is the subtle variation changes you can make to more closely target different areas of your back, and beyond. “You can use it to train strength or muscular endurance with just a few simple changes in tempo and foot positioning. The movement trains the rhomboids but also hits the lats, traps, rear delts and biceps, helping you build a functional, athletic physique with a maximum range of motion in the scapulae, shoulders and elbows.
“There is also core and leg control improvements to be made through full-body engagement. This is because the movement is stood up with every muscle, as the glutes and core work to hold you still in position to isolate the back muscles.”
So, if you’re looking to level up your back workout or get to grips with the TRX for the first time, here’s a guide to mastering the TRX row from Algieri himself.
The Benefits Over A Dumbbell Row
The dumbbell row despite being a fantastic back muscle exercise is still in a compromised hinge position, so more pressure is put on the lower back and hamstrings to hold on for dear life while you pull a weight upwards. Also if you’re doing a single arm bent over row, you’ve more than likely got your knee awkwardly on a bench along with pressure on the supporting arm or wrist.
With the TRX row, however, you’re asking your body to maintain a solid plank, meaning the lower back isn’t compromised, so it’s great for beginners up to advanced levels.
Another benefit is that if you can go heavier you don’t have to faff around and return to the dumbbell rack. All you do is move your feet forwards to make it harder, or move them back away from the anchor point to make it easier
Also, the dumbbell row can only be done in a gym, or if you have a home gym, while the TRX row can be done anywhere — as long as the strap can be attached to a tree, a post, a door, a gate, a solid fence, a mast, a truck; the options are endless.
How To Do A TRX Row?
This particular step-by-step breakdown is what we call a low TRX row. The magic of the TRX it that it has many row variations, which you can change by simply lifting the elbow positions. We’ll get on to them a little later, but first here’s how to do a low TRX row:
How many sets? 3-4 sets of 10 -12 reps each (Rest 45 seconds in between sets).
Technique: Fully Shorten the TRX straps (yellow tabs to the top). Hold the handles one in each hand and lean back straightening the arms. Walk your feet forward to select how heavy the row is — more forward towards the anchor point is heavier. Lift up onto the heels, legs straight, glutes switched on, and tailbone tucked.
Keep your palms facing towards each other, then pull your chest through your hands closing your shoulder blades behind you. Make sure that your elbows stay low and against the ribcage. Lower yourself to full straightened arms and re-spread the shoulder blades.
Top Tip: Remember your shortening and lengthening your back muscles, so do that.
MID TRX Row
Pull the elbows out left with your chest thus incorporating more of your rear deltoid — a notoriously hard muscle to train.
High TRX Row
This time, palms facing downwards, pull the elbows outwards and backward at shoulder height getting rear deltoid and a little more trapezius into action.


