Reacquaint Yourself With the Weights Room With This Back-To-The-Gym Workout Guide
The stop start nature of gym life this past year has seen the home workout reign supreme. But with the gyms now back and re-opened (can we get a hallelujah?) the job of re-acquainting ourselves with the mass of equipment we’d learned to go without for months begins.
To help you on your way back to the gym floor, here’s a workout guide from personal trainer and physiotherapist Tim Blakey to help get you re-started including two testing routines to get you quickly back up to speed.
How Lockdown Workouts Have Helped Our Future Gym Gains
What I’ve been emphasising to clients and friends as they head back into the gym is to use some of the lessons that lockdown taught us to your advantage. There’s three facets of home fitness that will ultimately benefit your training once back in the gym:
- Mobility
- Body weight mastery
- Unilateral or one-sided training (due to the ability to essentially double the load on one leg or side of the body in doing so).
I understand the excitement of getting back to play with all the toys but that doesn’t mean you should now ignore these facets. Ultimately they will hugely benefit your training back in the gym in the long term.
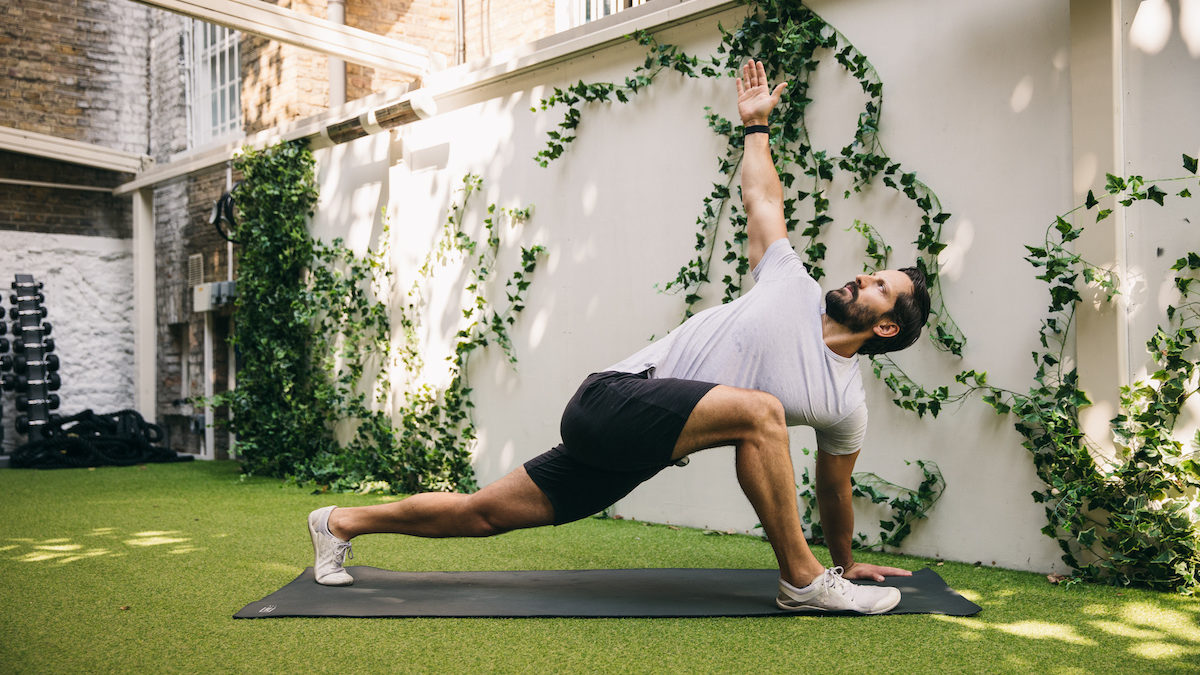
Firstly a focus on mobility is important in the gym. Dedicate the first ten minutes of every workout to mobility. All you need here is your body weight. If you’ve missed the foam roller as much as I do, then throw one of them into the mix too. Here’s an example of a mobility sequence suitable as a prelude to both the upper and lower body:
When we begin this back-to-the-gym workout we are going to start with compound exercises that use mainly free weights. This increases the complexity of the exercise and draws upon more of our core, balance, and coordination. These are as important as getting stronger as far as functionality is concerned.
Later in the session, we can get back to some of those machines you’ve been missing. This sort of format is not essential when programming gym-based workouts but I highly recommend it.
The first few exercises in the lower-body session are also focusing on unilateral movements since they help to iron out imbalances and increase the demand on the core.
This also forces the body to move as one integrated unit. After a few weeks with this plan you could switch out the split squats for bilateral back squats, and the single-leg deadlifts could be programmed as bilateral or conventional/Romanian deadlifts allowing you to play with the big weights.
This is not essential, however, and I think most people underestimate how beneficial it can be leaving these less ‘sexy’ barbell exercises in their plan for a long time.
The Back-To-The-Gym Workouts
Lower Body Workout
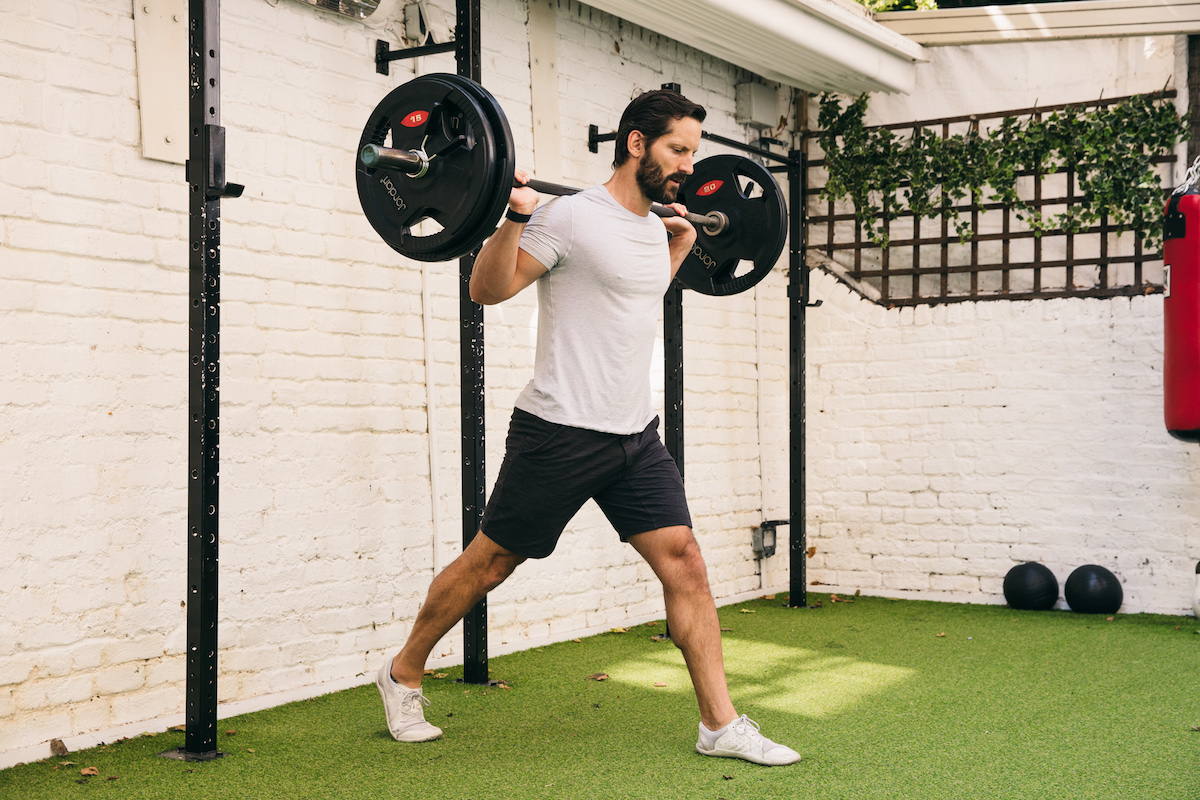
A1) Barbell Split Squats
Technique: Engage your back and shoulders as you would with a barbell squat and position the bar across this area. Step back out of the rack and then take a big step forwards, raising your back heel so your foot is supported by the toes.
Lower yourself slowly, flexing at the knee on the front leg, until your back knee is almost touching the floor. As you keep your core engaged, rise to the start position.
Top Tip: Keep your knees in line with your toes and initiate the movement with the back leg rather than front to reduces your risk of injury.
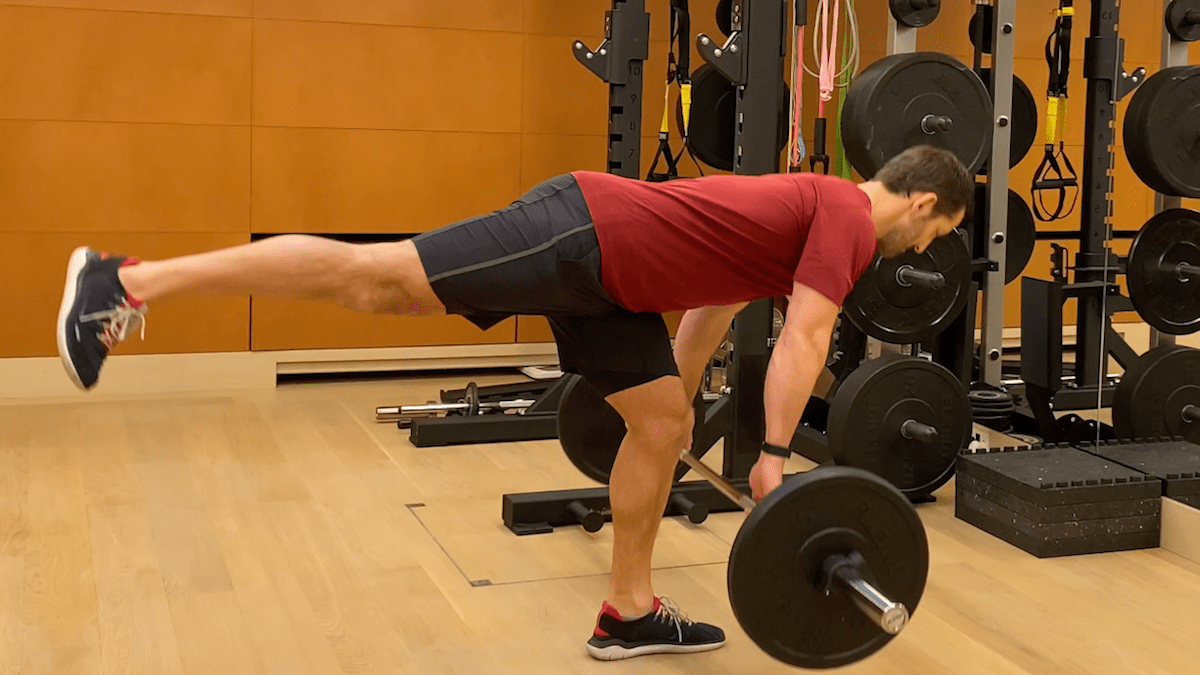
B1) Single Leg Romanian Deadlifts
Technique: For this exercise, we’re going to do one set before jumping onto the reverse curl ups and then back on to the deadlifts (we call this double station training).
Grab either a barbell, dumbbells or kettlebells using an overhand grip. Stand with your feet shoulder-width apart, knees slightly bent and one leg raised off the floor.
Without changing the bend in your knee, keep your back naturally arched, bend at your hips, and lower your torso until it’s nearly parallel to the floor.
Hold before squeezing your glutes, thrusting your hips forward, and raising your torso back to the start.
Top Tip: If you’re new to this exercise, try practising without weights so you can get used to the movement while retaining your balance.
B2) Reverse Curl Ups
Technique: Lie on your back with your legs bent and your feet hovering above the floor. Position a kettlebell above your head. This will act as a counter-weight through the movement. Grip the base of the kettlebell and tighten your abs to lift your knees to your elbows before elevating the knees toward the ceiling above the elbows
Pause at the top for a moment before slowly lowering yourself to the start position. Try to roll the spine down feeling each and every segment touch down in sequence.
Top Tip: Your knees should stay tucked in tight: not kicking out for momentum. If this happens pinch something between the knees to stop this happening
C1) Leg Press
Technique: We’re double station-ing again here, this time between the leg press and a leg curl.
Sit down on the leg press machine, with your back and head resting comfortably against the padded support.
Place your feet on the footplate about hip-width apart while making sure your heels are flat. Your bottom should be flat against the seat rather than raised and your legs should form an angle of about 90 degrees at the knees.
Push the plate forward, bracing your abs as you do so. Exhale, extend your legs and keep your head and back flat against the seat pad.
Pause at the top of the movement before inhaling again and returning the footplate to the starting position by gradually bending the knees.
Top Tip: Slowly does it. The leg press is all about control, no explosive, rushed movements here. Also don’t lock-out the knees as you come through especially if you have hyper mobility in your joints (ie. you’re double jointed).
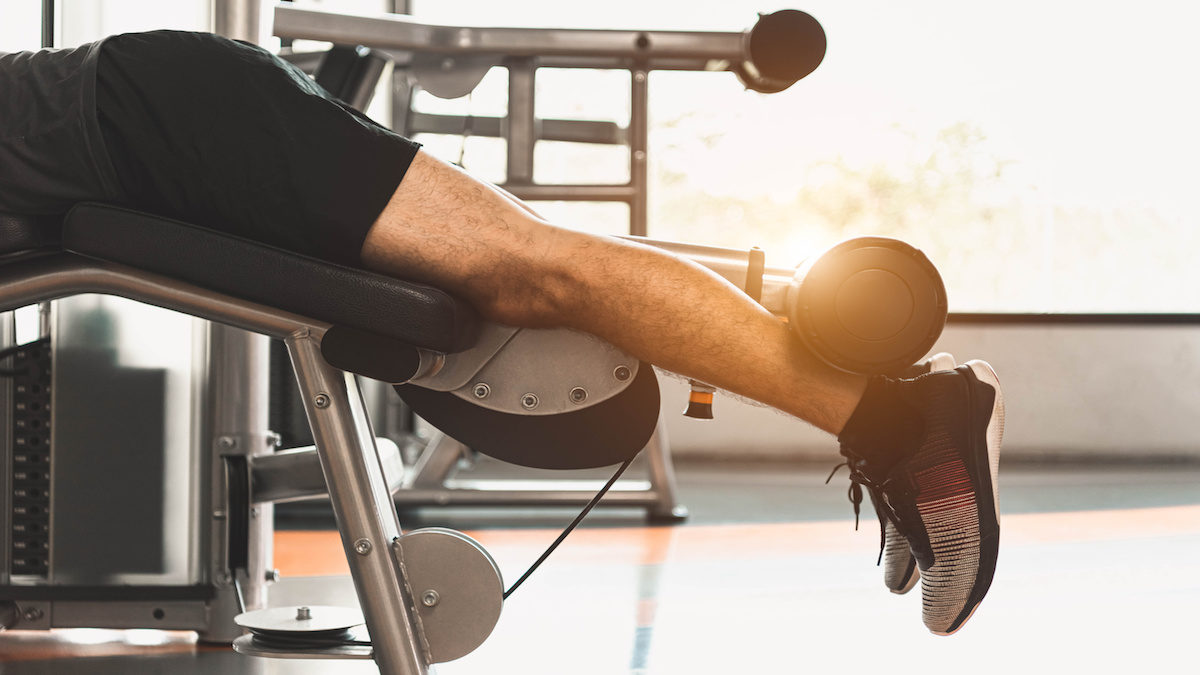
C2) Lying Leg Curl
Technique: Start by lying flat on your stomach. Adjust the roller pad so that it rests comfortably a few inches under your calves, just above the heels. Stretch your legs out fully.
As you inhale, hold onto the support handles on each side of the machine and lift your feet smoothly as you exhale, keeping your hips firmly on the bench.
Flex your knees and pull your ankles as close to your buttocks as you can. Hold the position for a beat, before inhaling fully again as you return your feet to the starting position.
Top Tip: Start with a lighter weight. You don’t want to be overcompensating by lifting your hips.
D1) Barbell Hip Thrusts
Technique: Another double station. Come on guys, you got this.
Place your upper back on the bench with your barbell across your hips. Keep your feet planted firmly on the ground, close to your glutes.
Drive your hips upwards, engaging your core and abs. Keep the movement in the lower body as much as possible, hold and then lower to your starting position.
Top Tip: Make sure you are using a bench that won’t move around and apply padding around the barbell if it’s starting to dig into your hips.
D2) Leg Extension
Technique: Sit up straight on the leg extension machine and adjust the pad so it sits on top of your shins just above your feet. Hold the side bars.
Ensuring that you are using your quads to push the movement through, extend your legs straight out in front of you. Then slowly lower them back to the starting position.
Top Tip: Pushing through the quads and not kicking up with your feet is the most important facet to focus on.
Upper Body Workout
In the upper body session you will start with two of the best body weight exercises for upper-body strength while a simple conditioning exercise proves a stern finisher to close proceedings.
A1) Body Weight Pull Ups
Technique: Leap up and grip the bar with your hands shoulder width apart and your palms facing away from you. Hang with your arms fully extended.
Then pull up. Move slowly upward until your chin is above the bar, then equally slowly downward until your arms are extended again.
Top Tip: Keep your shoulders back and your core engaged throughout. A resistance band can come in quite handy if you need an extra hand.
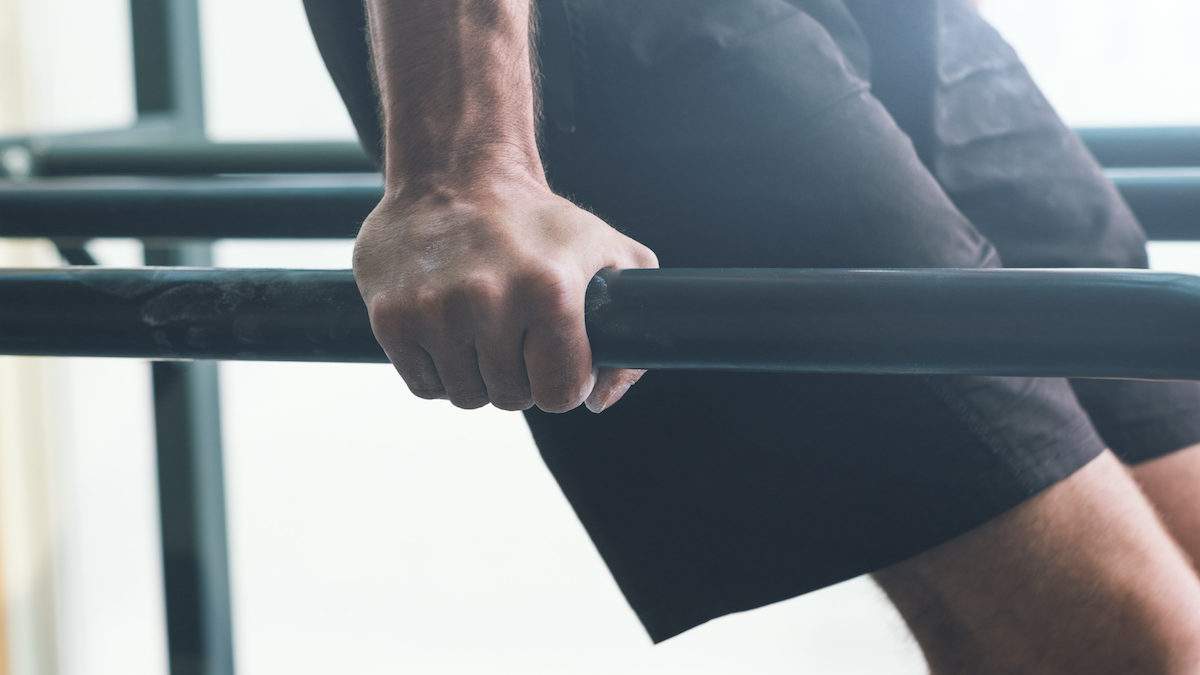
A2) Dips
Technique: Grasp two parallel bars that are approximately shoulder-width apart. Raise yourself up so your arms are extended and supporting the entire weight of your body.
Next, lower yourself to a final position where your elbows are bent and your shoulders are mildly stretched. And that’s a rep.
Top Tip: Use an assisted dip machine if you have access to one.
B1) Dumbbell Chest Press
Technique: Lie flat on your back on a bench, with your feet flat on the ground. With a dumbbell in each hand, extend your arms directly over your shoulders, palms facing toward your feet.
Squeeze your shoulder blades together and slowly bend your elbows, lowering the weights out to the side, parallel with your shoulders, until your elbows form 90-degree angle. With control, drive the dumbbells back up to start.
Top Tip: Make sure to squeeze your shoulder blades throughout the entire move. This will keep a stable base through the move so you can lift more while preventing any injuries.
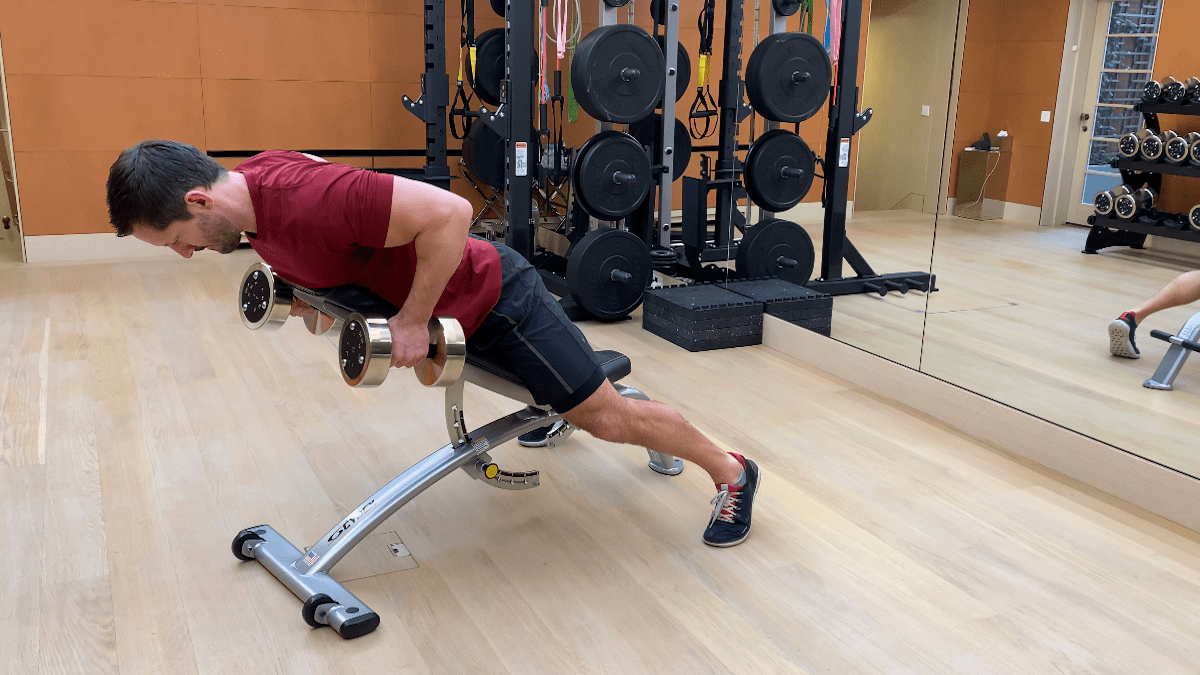
B2) Chest Supported Dumbbell Row
Technique: Set an incline bench at 45 degrees. Grab a pair of dumbbells, and approach the bench with your chest toward the angled pad, then lean onto it.
Plant your feet firmly on the floor, and let your arms hang straight down, palms facing each other. This is the starting position.
Squeeze your shoulder blades together and drive your elbows toward the ceiling, bringing the dumbbells to your ribcage. Slowly reverse the move, and repeat for reps.
Top Tip: As you start to life heavier the inclination will be to life your chest, but keep it firm against the bench to eliminate any momentum.
C1) Cable Face Pulls
Technique: Set up a cable machine with a double-rope attachment fixed around head height. Grasp the handle in an overhand grip and hold it with your arms fully extended out in front of you.
Pull the handles towards you, keeping your upper arms parallel to the floor, so that the handles go either side of your face. Then return to the start, keeping the tension in the cable.
Top Tip: Easy on the weight. You don’t want to go too heavy or you’ll start to get your lower back involved, taking the emphasis of your upper back and shoulders.
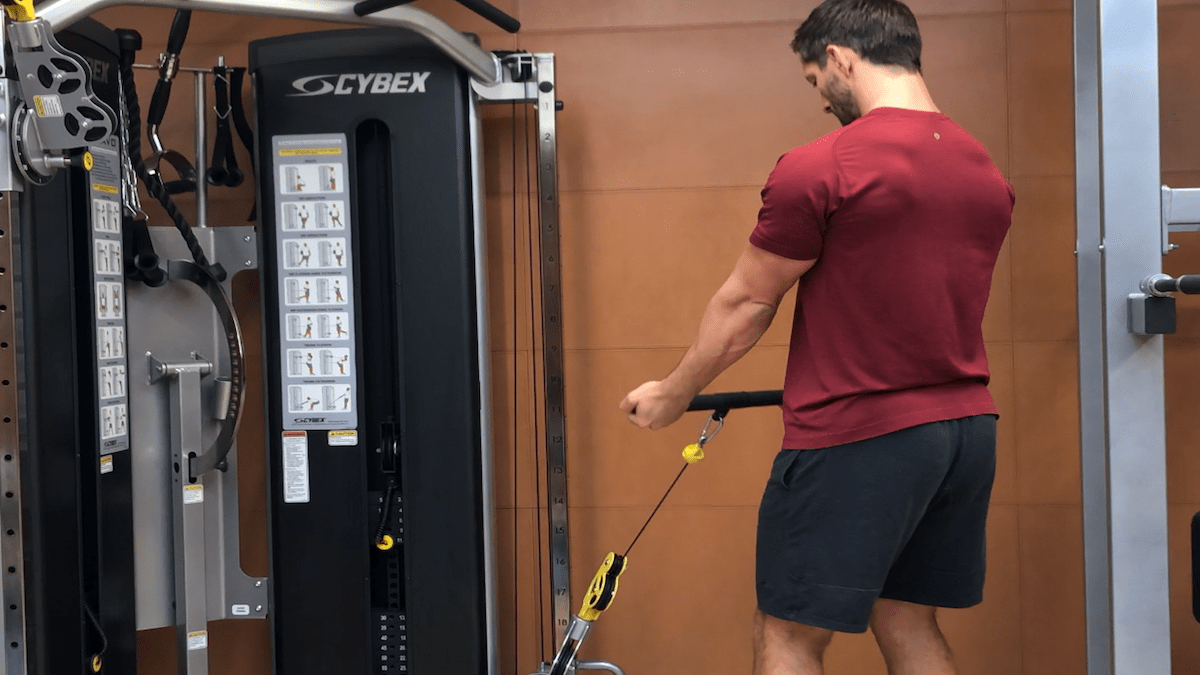
C2) Cable Bicep Curls
Technique: Set up a cable machine with a straight bar attachment fixed low. Stand close to the station, feet shoulder width apart either side of the pulley. Grip the bar with a shoulder width underhand grip.
Keep your elbows close to your sides and curl your arms upward from the elbows in a smooth arc. Continue until your forearms are vertical with your palms facing your shoulders. Hold before lowering the bar back to the starting position.
Top Tip: At the end of each rep the weights should still be suspended rather than dropping them into the stack. This is so you can keep tension through the entire plane of movement and the set.
C3) Cable Tricep Push Downs
Technique: You can either do this exercise with a straight bar or a double-rope attachment. The latter will help intensify the contraction at the bottom of the move.
Start by holding the ropes with your palms facing one another. Pull the handle down and at the bottom of the move turn your wrists so your palms are facing downwards. Then take your hands back to the starting position and raise the rope again.
Top Tip: Split the rope apart at the bottom to isolate the tricep muscle.
D1) 1000m row. 8/10 effort
Technique: Pretty self explanatory, but for correct technique follow these steps. With your arms straight and your head and shoulders level, start the drive by pressing with your legs, and then swing the back through the vertical position before finally adding the arm pull.
In the finish position your upper body should be leaning back slightly, using good support from the core muscles, as your legs are extended and the handle is held lightly below your ribs.
Extend your arms until they straighten before leaning from the hips towards the flywheel. Once your hands have cleared your knees, allow your knees to bend and gradually slide the seat forward.
Top Tip: It’s all in the push with your legs at the beginning as your body follows, as opposed to the arms.


